Archive for the ‘projects’ Category

I have a new-found love of historical fiction.  This book, set in mid 19th-century China, so brilliantly wove together elements of fictional relationships with real Chinese traditions and attitudes.  Through the lens of Lily, the book’s narrator and main character, we get a glimpse of what life was like for women living in China 150 years ago:  the pain and risk associated with footbinding, the rituals and duties of betrothal and marriage, and the never-ending list of  restrictions and expectations.  Totally fascinating, though completely tragic as you realize how heavily women were disrespected, devalued, and oppressed.

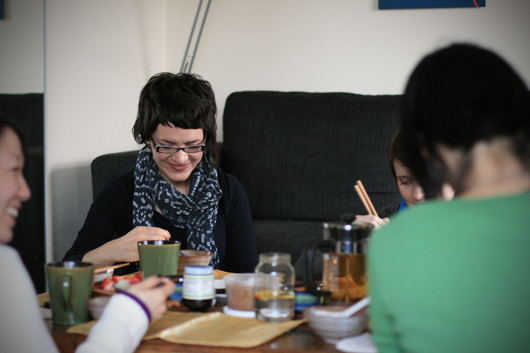
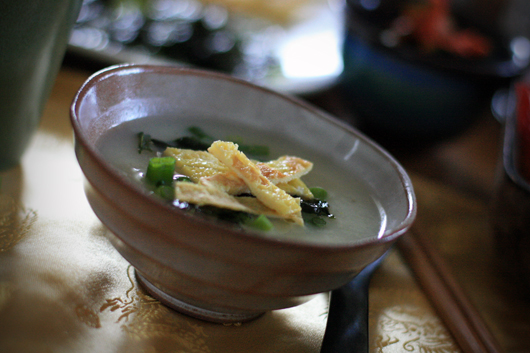
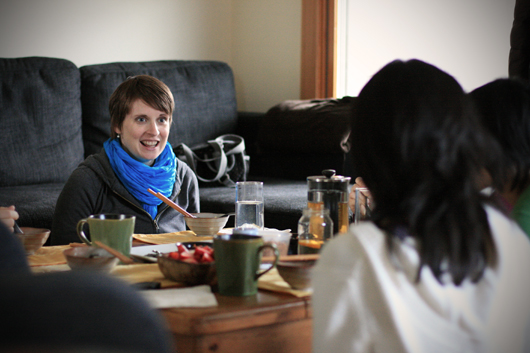
I loved getting together with my book club this morning and hearing everyone’s impressions of the book.  As we all sat around the table and enjoyed Congee (courtesy of Emily), I was incredibly grateful for the diversity of thoughts, cultures, and experiences present in that room.  We shared about how our familial and cultural roots have impacted our ability to express ourselves, how we still see women enduring pain and discomfort in the eternal pursuit of ‘true beauty’, and how difficult it would be to have to inflict pain on your child in the name of tradition.  Deep stuff.  Yet these moments of thoughtful reflection were intertwined with personal stories and loud bouts of laughter.  Two and a half hours has never flown by so quickly.  I have been so blessed by this group of ladies – I like to think of them as my own version of the Chinese ‘sworn sisterhood’…
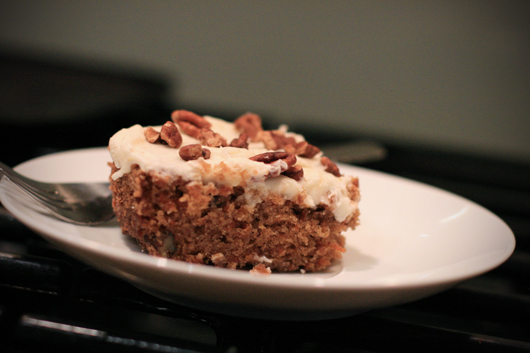
As I mentioned earlier, Shane and I are in the midst of our frugal January, trying to stick to a grocery budget of three dollars per person per day.  I’ve embraced the challenge, but have been unwilling to give up certain ‘necessities’, such as dessert.  As I perused my most economical options for sweets on Friday night, I decided that carrot cake seemed to fit the bill as 1) cheap, and 2) still slightly decadent, when topped with fatty cream cheese frosting.  I pulled from couple of different recipes to come up with a cake that contained mostly ingredients that we already had on-hand, and it turned out quite well:

Carrot Cake with Cream Cheese Frosting (makes 8 servings):

2 eggs
2/3 cup vegetable oil
1 cup white sugar
1 teaspoon vanilla extract
1 cup all-purpose flour
1 teaspoon baking soda
1 teaspoon baking powder
1 teaspoon cinnamon
1/2 teaspoon nutmeg
1/4 teaspoon salt
1 1/4 cup grated carrots
1/2 cup chopped pecans

1/4 cup softened butter
4 ounces softened cream cheese
1 2/3 cup powdered sugar
1/2 teaspoon vanilla extract
extra pecans, to sprinkle on top

Preheat oven to 350 degrees F.  Grease an 11×7 or 8×8 baking dish.  In a large bowl, beat together eggs, oil, white sugar and 1 teaspoon vanilla. Mix in flour, baking soda, baking powder, salt, nutmet and cinnamon. Stir in carrots. Fold in pecans. Pour into prepared pan.  Bake in the preheated oven for 35 to 40 minutes, or until a toothpick inserted into the center of the cake comes out clean.  Set the cake aside to cool.

To Make Frosting: In a medium bowl, combine butter, cream cheese, powdered sugar and 1/2 teaspoon vanilla. Beat until the mixture is smooth and creamy. Frost the cooled cake and sprinkle with pecan pieces.

Cut a slice and serve with hot chamomile tea.  Consume while watching football on a rainy Sunday afternoon.

I was happy with how this one turned out, considering it was my first attempt at a carrot cake – moist, cinnamon-y, and dang, I love a good creamy frosting.  I have already made two cakes in three days to share with friends and neighbors and will be adding this to my go-to dessert list.  The best part?  The only ingredients I had to buy were a couple of carrots, costing 60 cents, and a small package of cream cheese, which I got on sale for an even dollar.  Now that is a sweet deal (pardon corny pun)…

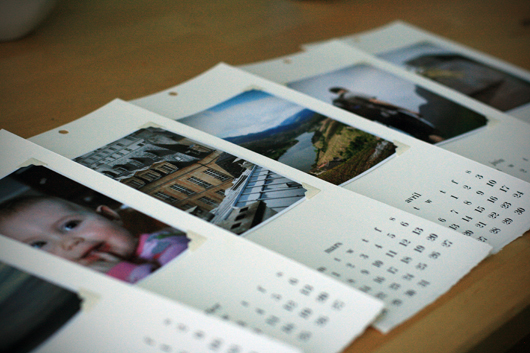
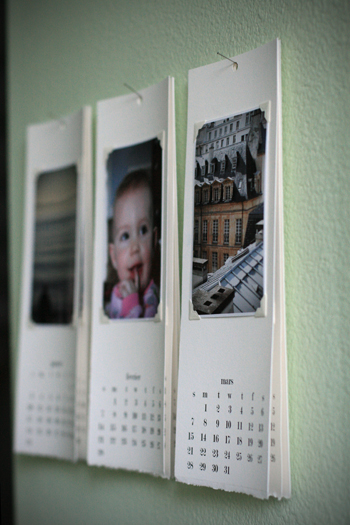
I was so proud of my 2009 homemade calendar, but in the end, doing a drawing or painting for each month got to be too much, and so November and December were never even completed (meaning that according to the calendar, it was October in our house for three months).  But I liked the idea of personalizing a calendar, so this year I took a less labor-intensive route and worked with photos I’ve taken over the previous year.  Each month in our 2010 calendar holds a photo that was taken during the same month in 2009.  I like it – the whole calendar turns into a nice little trip down memory lane.  March holds a picture of our trip to Paris, June reminds us of our hike up Little Si, and November is captured with a photo of our annual trip to Minnesota.  It took a few hours to sort, print, and trim all the photos, but it was worth the effort, and it’s nice to have the whole thing done and ready to flip to with the changing of each month.  Also nice to find that I had at least one print-worthy photo from each month of the year – I’ll work on keeping with that rhythm for the year to come.

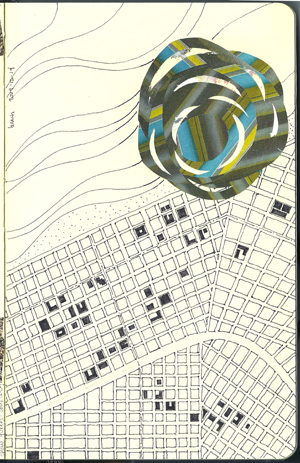
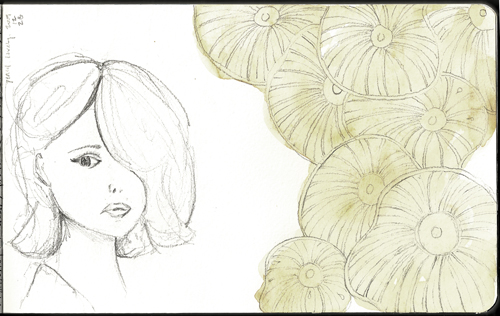
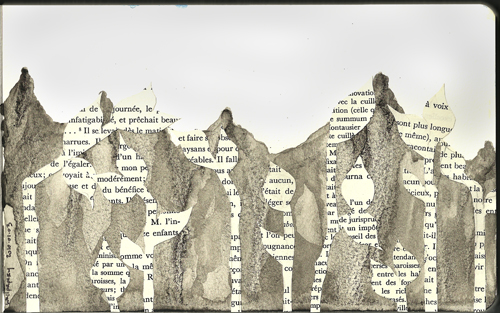
A few more recent sketches, again, totally random in subject matter and media…

beach plan (2009.12.14):


topos (2009.12.26):

lovely (2009.12.28):

black hills (2010.01.03):

As good as this little ‘weekly sketching’ exercise has been for me in terms of getting me to draw/paint/collage more regularly, I’m finding it a little unfulfilling lately.  The fact that I have not established a consistent theme or style in my work bothers me.  I’m not going to do away with the exercise completely, but I’m looking for ways to morph my process a little bit this year.  Watch for changes – they might be subtle and completely unnoticeable, or they might come in the form of a total overhaul.  Not sure yet…  But stay tuned.

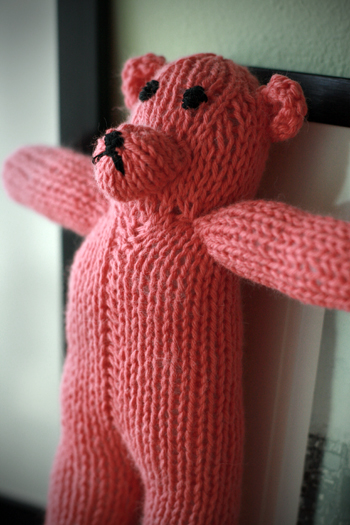
I’ve always loved the look of hand-knit stuffed animals, and decided to take a stab at a teddy bear pattern I found in this book.  Mr. Bear didn’t turn out quite how I’d hoped – one of his legs is a little longer than the other, his stomach is rather lumpy, and his stuffing is showing through in places – but he’s got lots of charm and is still soft and cuddly.  Plus, he’s bright pink.  Awesome.

My parents gave this book to me for Christmas when I was just a kid – I believe it’s been sitting on my bookshelf for over 15 years, neglected and unread.  I’ve seen the movie over twenty times and count it as one of my favorites, but somehow just never got around to picking up the book.  After reading the first Twilight novel, I was in the mood for something more… ‘wholesome’ and challenging, and December seemed like the right month to take on Little Women, in all its classic, family-centered goodness.  And I’m so glad that I did.  I just finished this book by the light of our Christmas tree, and wouldn’t have wanted it any other way.  It’s not a page-turner, and there were a few overly verbacious (is that a word?) chapters that were difficult to get through, but all in all, I really enjoyed this book and felt like the holiday season was the perfect time to read it.  I loved being transported into the March family’s living room, sensing the warmth of sisterly love and motherly care.  And while Marmee’s infinite wisdom and the girls’ fixation on morality may have seemed a bit much at times, I think that’s ok – sometimes the family unit needs to ‘idealized’ a little bit, considering the sad examples of crumbling families that we’re currently bombarded with in the modern media.  And so this book gets two thumbs up, with a bonus point for the fact that Louisa May Alcott seemed like quite an exceptional woman.

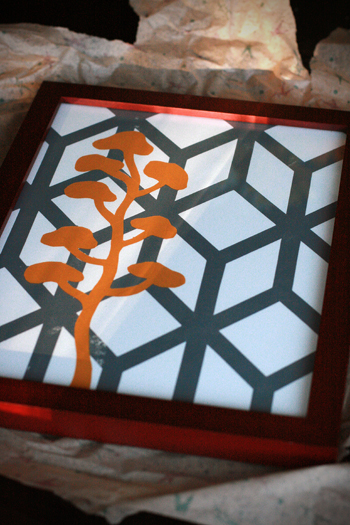
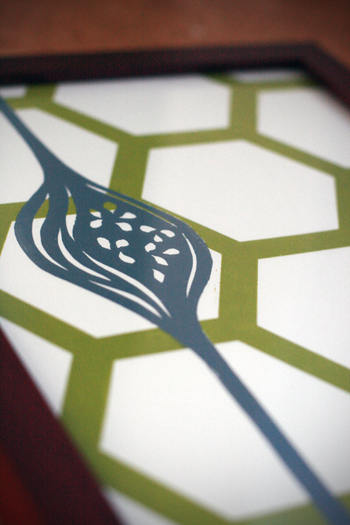
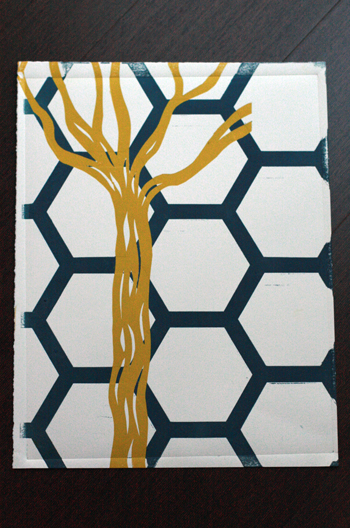
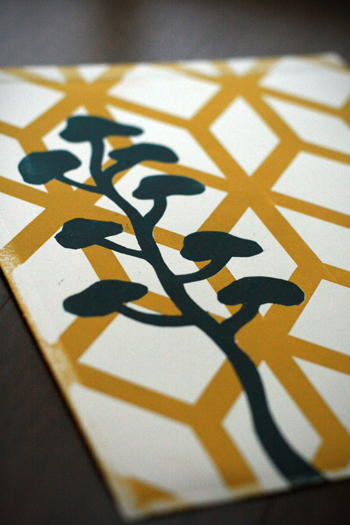
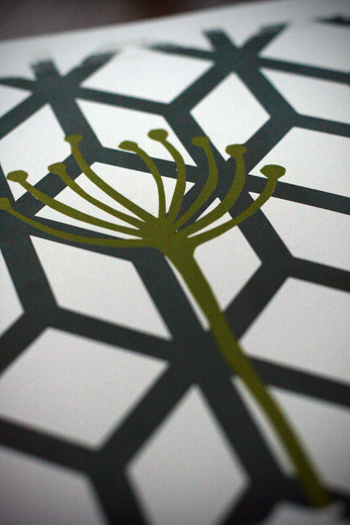
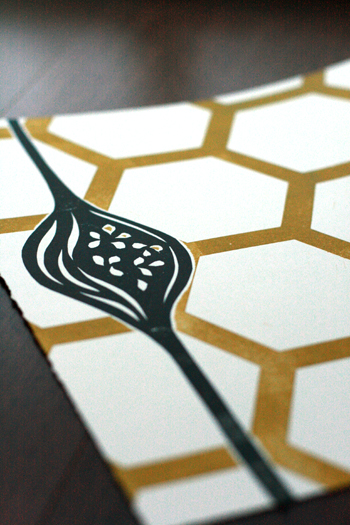
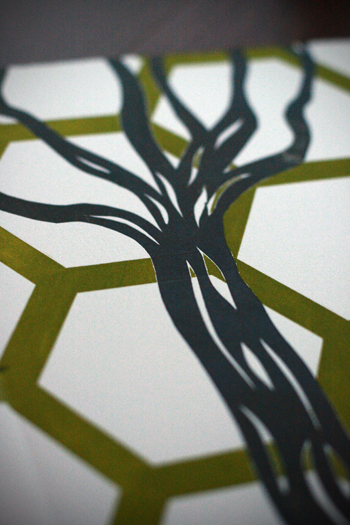
These were the final few prints that I cranked out last month – I held off on sharing them because two of these were a late birthday gift for my mom, but she received them last week, so I’m no longer in danger of ruining any surprises.  These are all monoprints, done with hand-cut stencils loaded with ink and run through the press.  I’m pretty happy with how several of them turned out – none of these are perfect, but I’m coming to learn that these imperfections are the beauty of printmaking.

These are two of my favorites, which will soon hang on the wall of my parents’ newly remodeled bathroom (my first piece of art to ‘grace’ someone else’s walls!):

These are all part of the same series…

And so my intro into printmaking has ended.  But due to the generosity and thoughtfulness of my ever-supportive husband, I’ll be able to occasionally rent space in the print studio next year with my Pratt school gift certificate!  I have some thinking/organizing/prepping to do before I’m ready to get back in there, but there are lots of ideas swirling around in this busy ol’ brain of mine.  Can’t wait to see what comes of it…

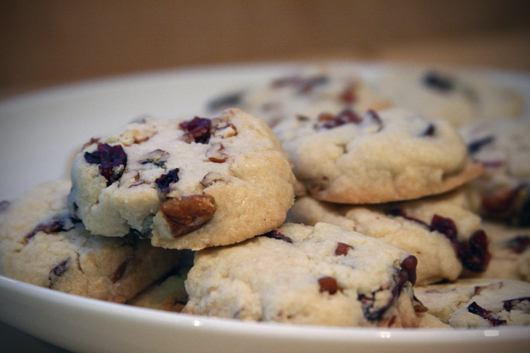
I spent this afternoon baking up a storm, preparing all kinds of goodies to take with us when we head down to Portland later this week to spend Christmas with my family.  I love using the holidays as an excuse to try out new cookie recipes, and so I scoured the internet to find a couple of sophisticated-but-simple treats. This is what I came up with:

Cranberry Noels (recipe here, courtesy of Martha):

This one seemed simple enough, and once I had my dough all rolled out and packed away in the fridge, I figured slicing the rolls into perfect little circles and dropping them on a cookie sheet would be a piece of cake.  Not so much…  My dough was really crumbly, so when I tried to slice it, it fell apart.  But I’ll be danged if I’m going to let two whole sticks of butter go to waste, so I had to just hand-form the dough into little patties and for-go any hopes of matching Martha’s perfectly round biscuits.  Ah, well.  They still taste good…

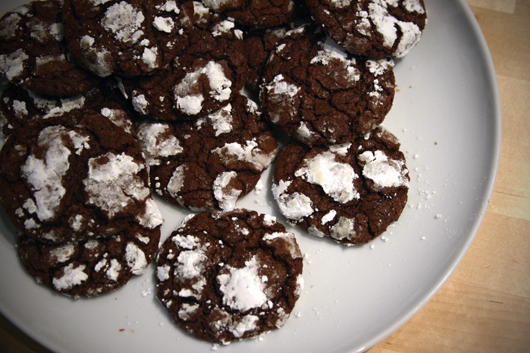
Chocolate-Espresso Snowcaps (recipe here, also from Martha):

Espresso and chocolate, coming together in one perfect cookie?  Yes, please!  Between the sifted ingredients, the melted chocolate, the goopy mixing bowl, and the sugar-dipping bowl, this one made a disaster of my kitchen, but it was worth it.  Freezing the dough before rolling it into balls was key, as it was far too sticky to work with right out of the bowl.  I used Starbucks Via instead of instant espresso, and the cookies have a distinct-but-not-overpowering coffee flavor.  Yummy.

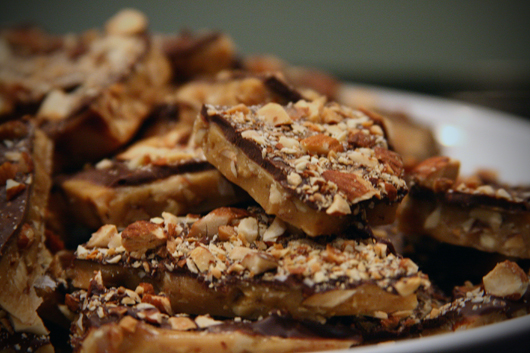
And finally, because it’s tradition, one more batch of butter toffee.  Not sure what happened to the batch I made last weekend – we must have an infestation of toffee-gnomes in our kitchen…

Our bundle of goodies is now safely packed away, ready to be broken into on Christmas Eve with the family.  Dude, I love Christmas…

It’s December, and I’ve got the baking bug, so I spent this afternoon whipping up a batch of my most favorite almond toffee.  I only make this at Christmas-time (see the copious amounts of butter used and you’ll understand why), so it’s an extra-special treat.  Recipe below, in case you’re also tossing out any notions of a holiday diet…

20091213 butter toffee small

Chocolate-Covered Almond Toffee (recipe adapted from here):

10 ounces chopped, toasted almonds (almonds can be toasted on a baking sheet at 375 degrees for 8-10 minutes)
1 1/4 cups sugar
1/3 cup light corn syrup
1/3 cup rum
8 ounces (2 sticks) unsalted butter, cut into small pieces
1/2 teaspoon salt
1/2 teaspoon baking soda
8 ounces bittersweet chocolate, cut into small pieces

Place sugar in a small deep saucepan. Add the corn syrup and rum and, over medium heat, bring to a boil.  Let boil until large bubbles form on the surface, 3 to 4 minutes.  Cover with foil and boil 5 minutes longer.  Add the pieces of butter and continue cooking, uncovered, over medium heat until temperature reaches 300 degrees F on a candy thermometer, about 30 minutes.  Remove from heat and immediately add the salt, baking soda, and 1 cup of chopped nuts. Stir until well combined.  Pour the toffee mixture on an oiled baking tray and spread the mixture out, making a block about 10 by 13 inches.  While the toffee mixture is cooling, melt the chocolate in a medium heatproof bowl placed over simmering water*.  Keep warm.  When you can lift up the block of toffee, transfer it to a flat work surface or to a clean baking tray*. Pour the melted chocolate over the toffee and sprinkle with the remaining chopped nuts. Refrigerate for about 10 minutes to set the chocolate.  Cut into pieces of desired size.

***LESSONS LEARNED:  Today was not my day kitchen-wise, and though I’ve made this recipe several times before, I somehow managed to royally screw a couple of things up.  Take heed:  1) Melting chocolate is a sensitive process.  I set my metal bowl over the pan of simmering water, but neglected it for just a moment and it turned into a solid, chunky mess.  The stove should be on low, and the chocolate should be stirred constantly until melted.  Thank goodness for my extra chocolate stash.  Crisis averted.  2) This one is embarrassingly obvious, but do not (I repeat DO NOT) set your block of toffee on a sheet of wax paper to cool.  I meant to grab the roll of parchment paper, but instead grabbed the wax paper, and when I went to lift my block of toffee to transfer it to a plate, the paper stuck to the bottom and was impossible to peel off in places.  This whoopsie forced me to toss out nearly half my batch.  What a shameful waste of good butter…

Mishaps aside, this is good stuff.  Happy holidays!

Just a few randoms…

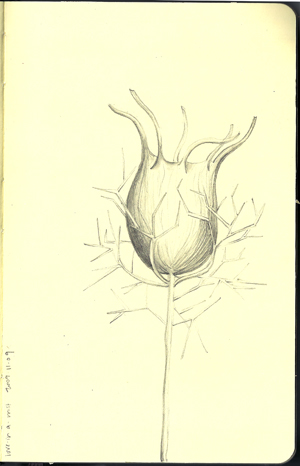
love in a mist (2009.11.09):

20091209 love in a mist small

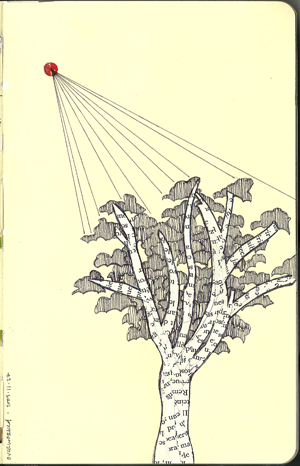
paper tree (2009.11.27):

20091209 paper tree small

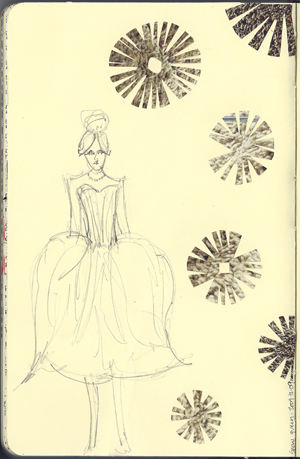
snow princess (2009.12.09):

20091209 snow princess small